Here is my inspiration

I saw this dress and I knew instantly what I was going to do with this dress!!

Now I know the first words you think of this dress are: SEXY, PROVOCATIVE, DIVA.
LOL well those words are the complete opposite of this dress!! This was probably from the 90s and I am sure one of my teachers wore this dress. I found this dress at goodwill and I love plaid. Always have, always will. I thought it had some potential... but...
Things wrong with dress
1- big ole armholes
2- way too long
3- uninteresting in anyway!
I started with tackling the armholes. Since I don't know much about sewing with armholes, I know they can be tricky and I do not want to mess with that. I did not have a lot of room in the chest to work with unless I wanted to put in a zipper. I did not want to go there yet! So I just simply put the dress on inside out and pinned it at the shoulders to take up the armholes. Ahhh much better (yup guess what no picture! I blame my cat Natasha)
The next thing was the length. I picked a line and cut it. wow again its looking great!

Now what I found amazing on this frock was it actually has pockets- a dress with pockets (so so dreamy!) but it also had faux pockets on the bodice! What??? Really?? I got out my seam ripper and pulled those babies off!!!
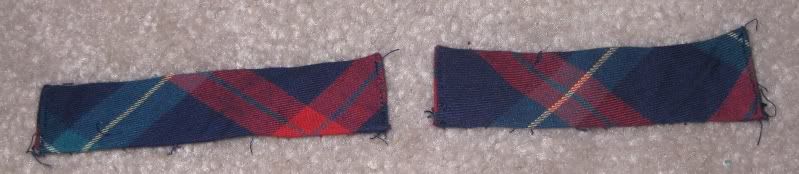
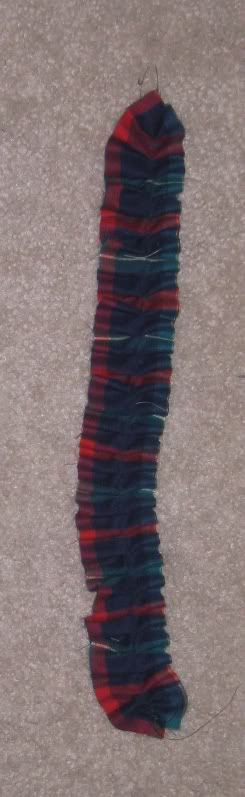
Next it was ruffle time!! I followed the lines on the plaid and made some strips with the leftover skirt fabric I had left. (Actually I made a quick belt to help cinch it in) I actually had 2 different sizes. I did a long stitch with a 0 tension on my machine to creat a ruffle but... it was not working. FAIL! The fabric is a lightweight flannel and it was gripping my thread. So off to bugging Sonja to borrow her ruffler foot :) And tada easy ruffles!
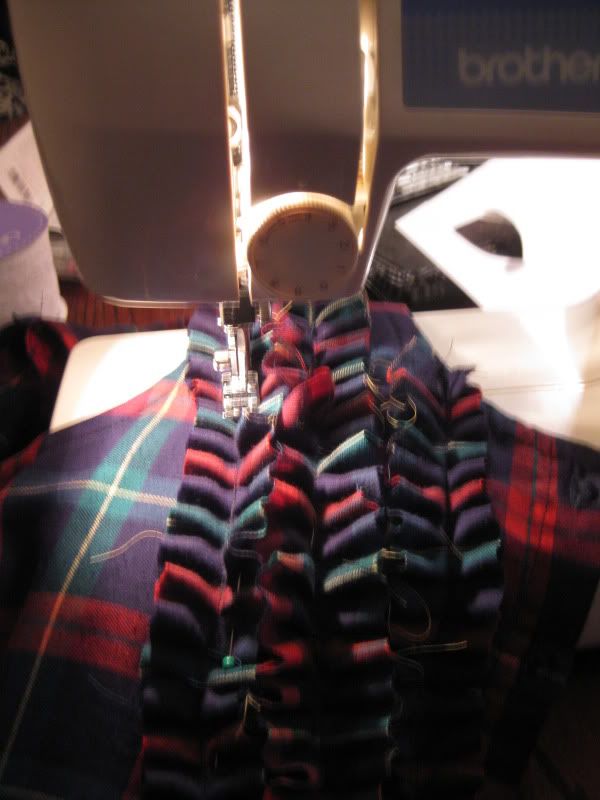
I then again pinned it to my dress on a diagonal (going to be different than last post!) And began to sew away on my machine ....
Warning: again if you have a chest (even a small chest like me!) the ruffles in the area are going to appear differently when the garment is on you! I had to pull the ruffles off and fix the outermost ruffles.
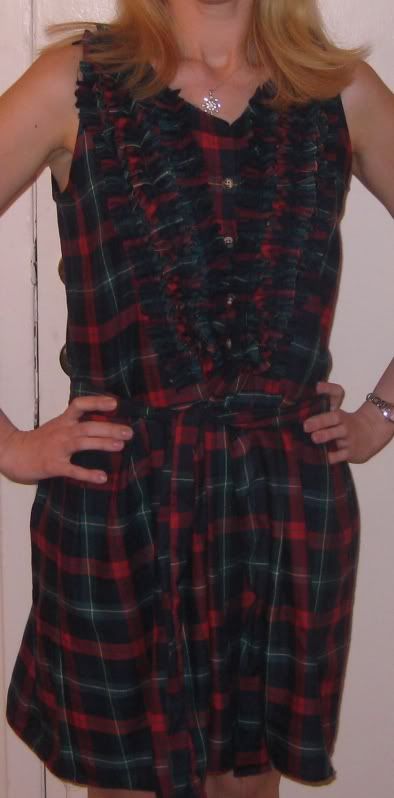
Here is the end product.... Nice huh??
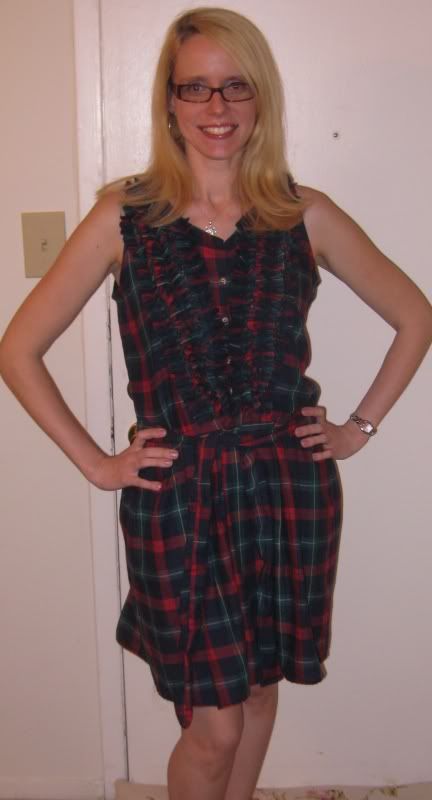
I still kept the pockets so I have a dress with pockets! Always a plus!
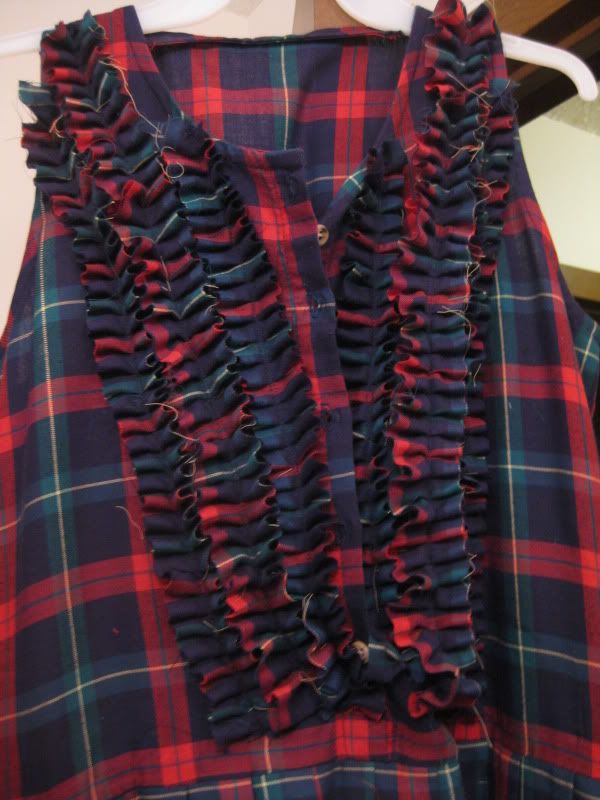
A Close up of the ruffles. I so want my own ruffler foot, it is SO MUCH FUN!
I bet that school teacher who wore this dress in the 90s would want this dress back!