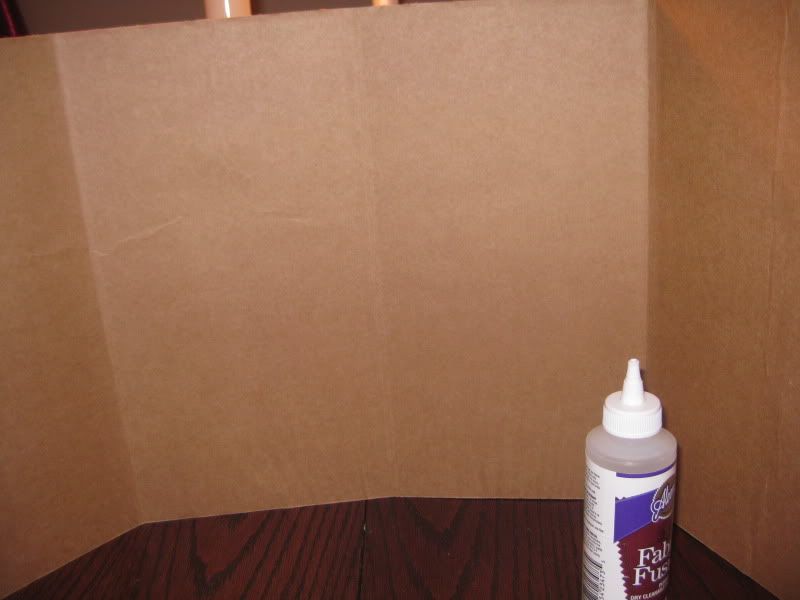
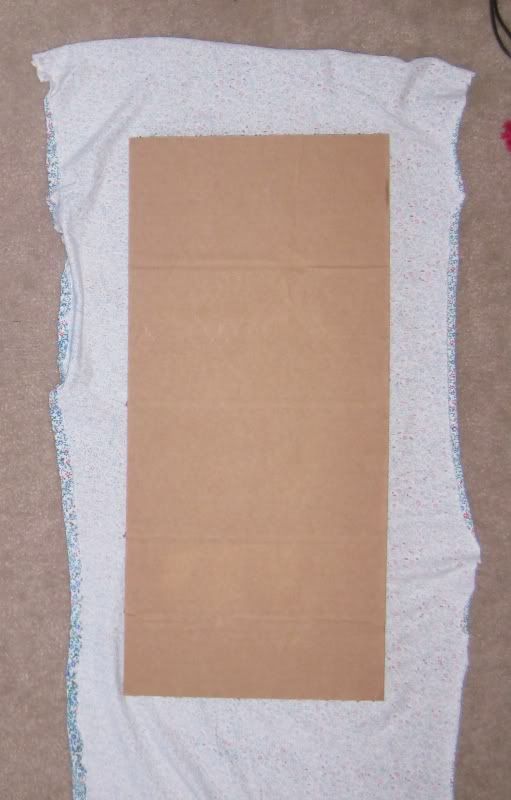
Ahhhh, what to do, what to do with all those ideas of clothing I want or ideas for costumes. I cut out things from magazines but they seem to go nowhere. I have no place for them to actually be presented so I remember them. I have a corkboard but its already full. I wanted another one but I did not want to pay the price of one. Then I came across this at work... Thick cardboard used to ship the 2.5L glass bottles of chemicals. My coworker said she had used them in the past to make memory boards for her family members. DING!! I am now inspired!
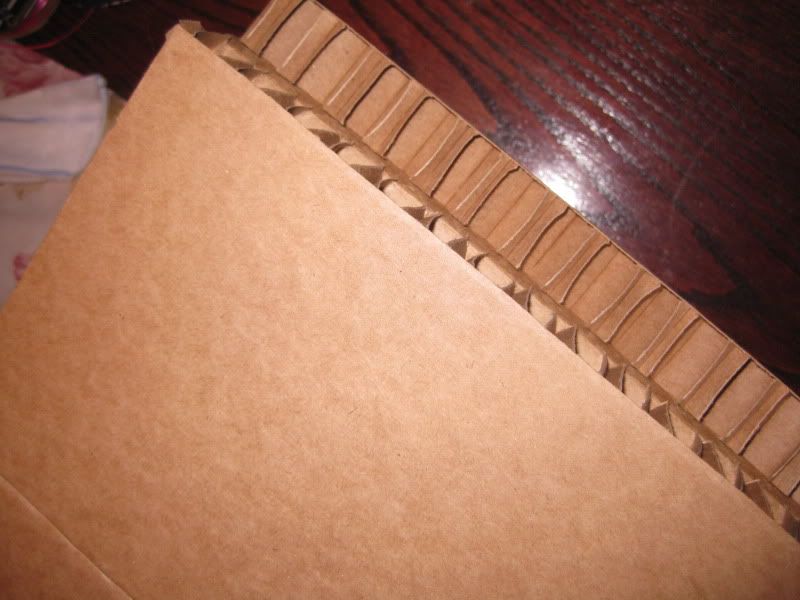
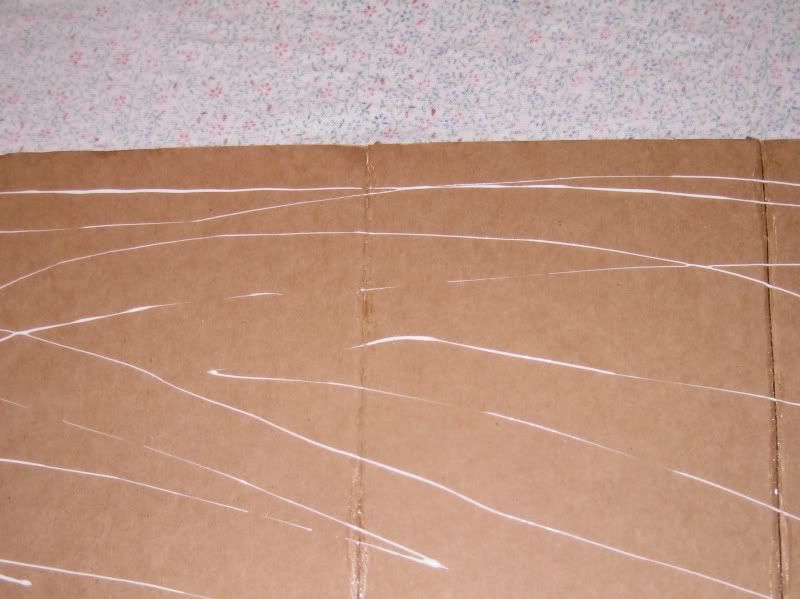
Look at this thickness! This would be fabulous for pins!
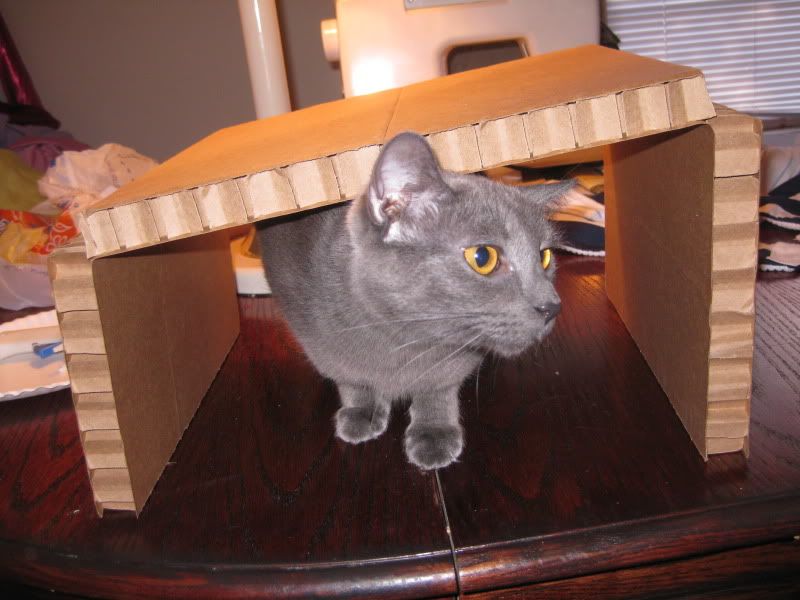
Ok brief departure, how cute is Natasha?? She was showing how these big pieces semi-connect. she's my little helper!
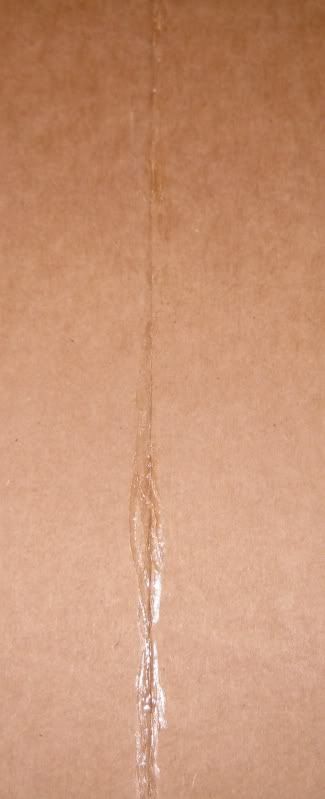
Ok back to business... Yes they were divided into 4 parts so I had to glue them together to make an actual board. So sealed them up with good old hot glue!
I got some fabric from my fabric stash (wahoo!) and simply put it under the board and cut around making sure I had enough to touch the back.
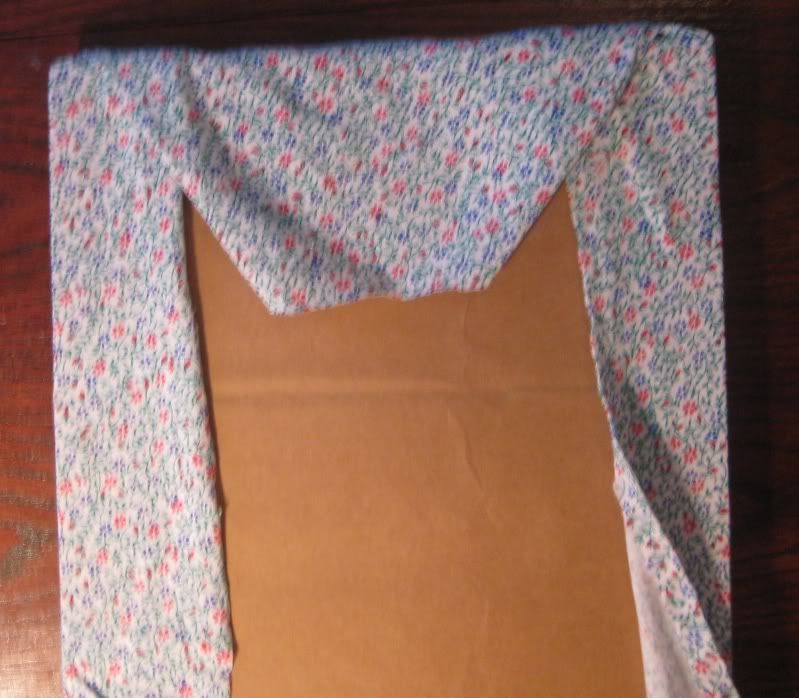
Add some glue (not hot glue, I just used a general craft glue)
place the glue side to the wrong side of the fabric and start wrapping like a present. I used hot glue for this part.
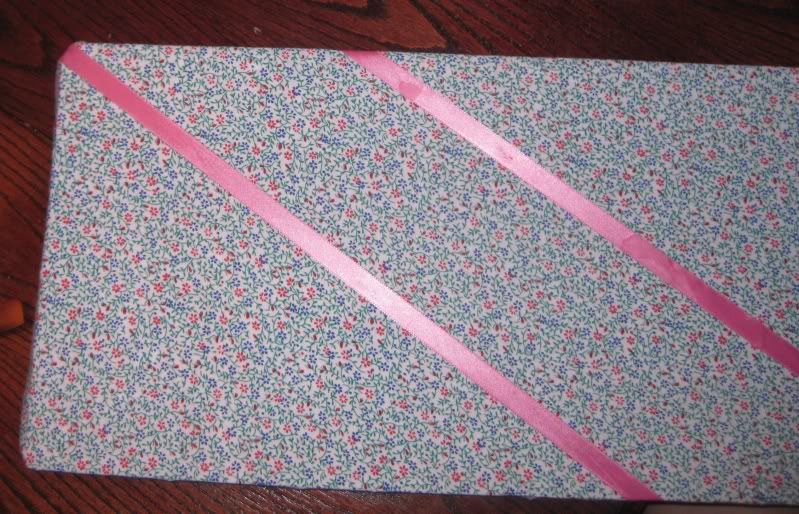
Not start addint ribbon. I had this pink ribbon in my stash and a lot of it so I just started to add diagonal lines.
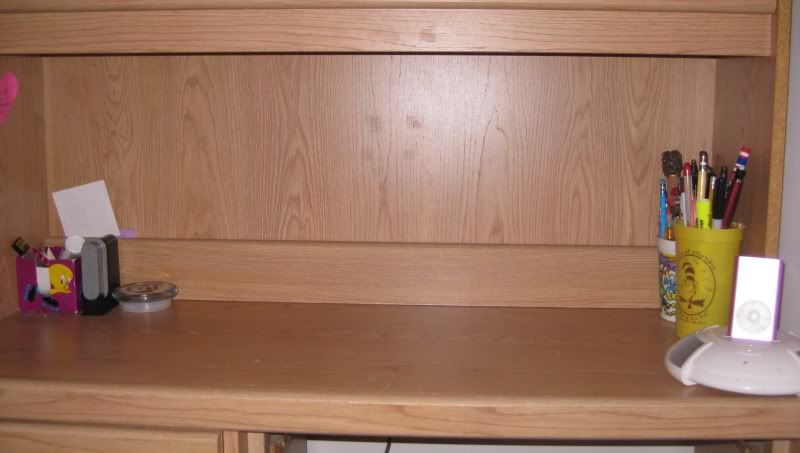
First before I show the finished product, here's the before picture of my desk.
And now the after with my board. And yes the ribbon is a tad off but they will be once I start adding stuff to the board so they will strech.
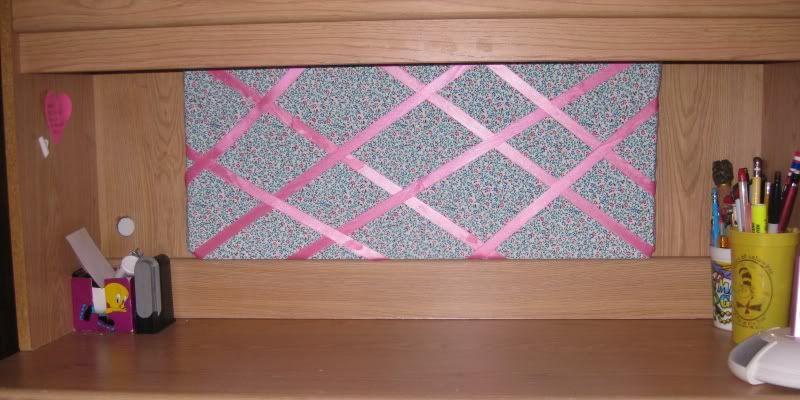
I hung up my board on the back of my desk using those 3M stickies that don't damage walls. They are super strong and are still holding up the board now! I had 2 more square pieces of the same type of cardboard that I also covered with the same material that I use for craft spaces. They come in handy for when I was embellishing bras for dance and needed a higher surface to rest them on.

Sorry do not have an after picture! :( but you get the drift. This project cost $0!!! And I have used some of my stash! Yay! As always thanks for reading! :) Have a great day!

No comments:
Post a Comment