Well hi welcome to my little blog. Just my little corner of craftiness, sewing, and refashioning. I am also a newly gluten free eater so you have a little bit of recipes mixed in here.

Wednesday, October 26, 2011

Halloween costume- Felt Medals

Part of my boyfriend's halloween costume this year (which we are not going to reveal until the party), requires medals. However, I wanted to make them rather then purchase them. We are looking to save money and get out of debt! Additionally, I decided to use this project for the iron craft challenge #43- fear not. The ulitmate goal was to try something new with what you normally craft with. Normally, I am a sewer, cross stitcher, needlepointer, and maybe a few random crafts in between. One thing I never use is felt. I am completely not a felter, it is not my choice to use as a medium. However, for this project I decided that felt would be the best (and cheapest) option to make medals. Thus my project!

What I used.....
I had a lot of everything in my craft boxes from many years so I actually did not need to purchase much
- pins with stick on backings
- coins (leftover from an old bellydance costume)
- felt in a variety of colors
- scissors
- glue- I used fabric fusion
- needle/thread that match your felt colors

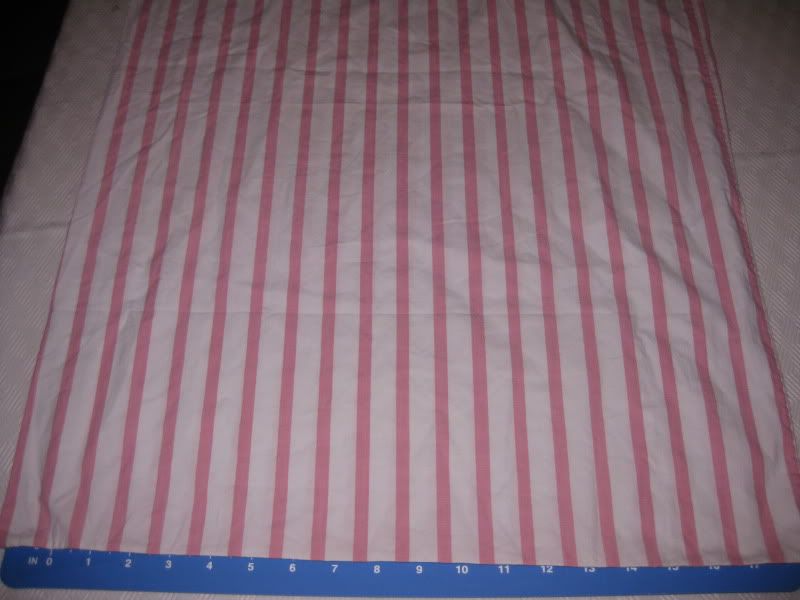
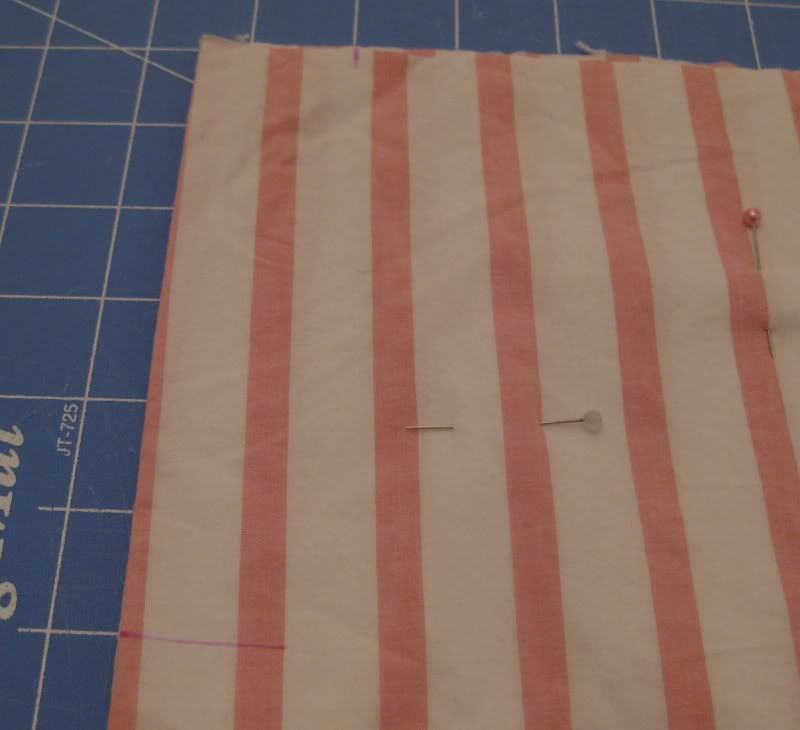
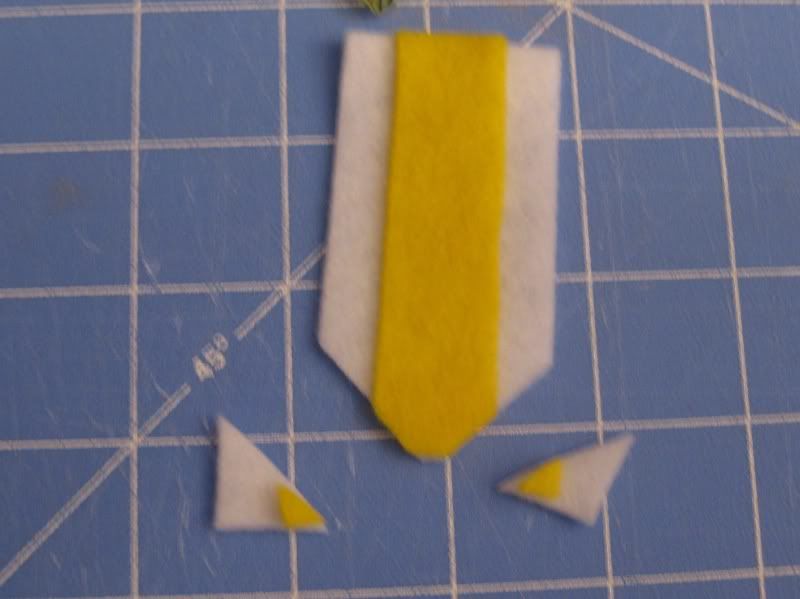
First I made a template out of a piece of paper that I thought looked like a good size for a medal. I pinned it to the felt and cut it out.

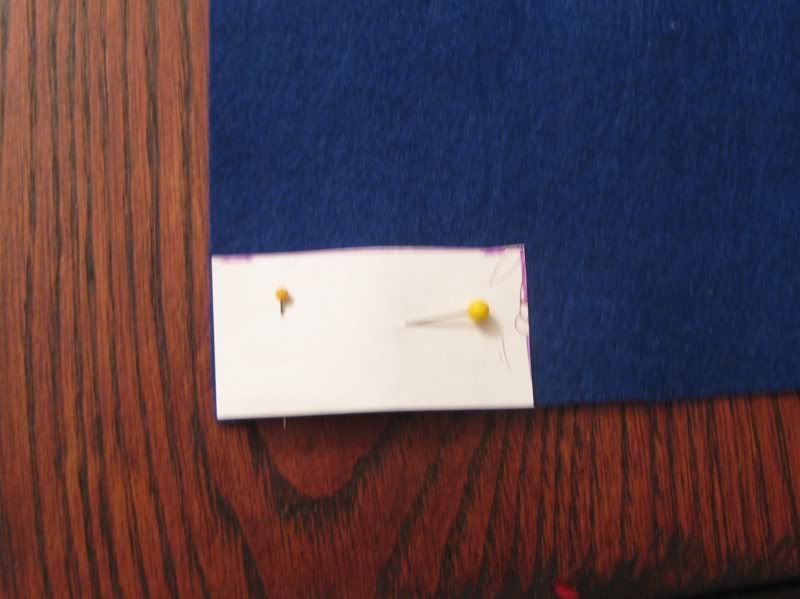
I added a small piece of an additional color and glued it to the first piece.

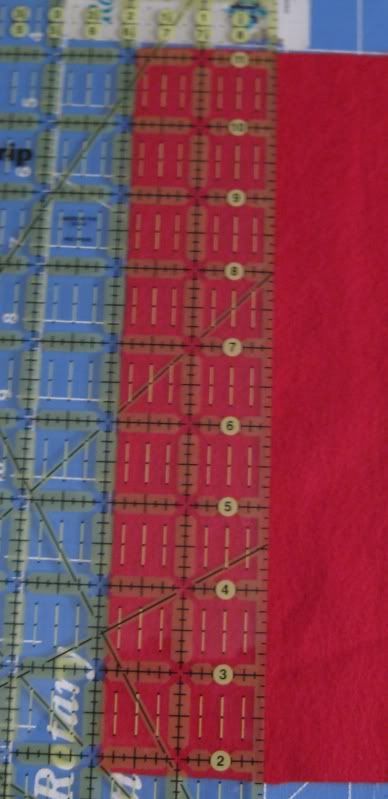
I decided this was a good template and good size so I used these measurements (which wound up being wrong but I used them anyways). so I used my rotary cutter and my nifty ruler to cut out more of them.

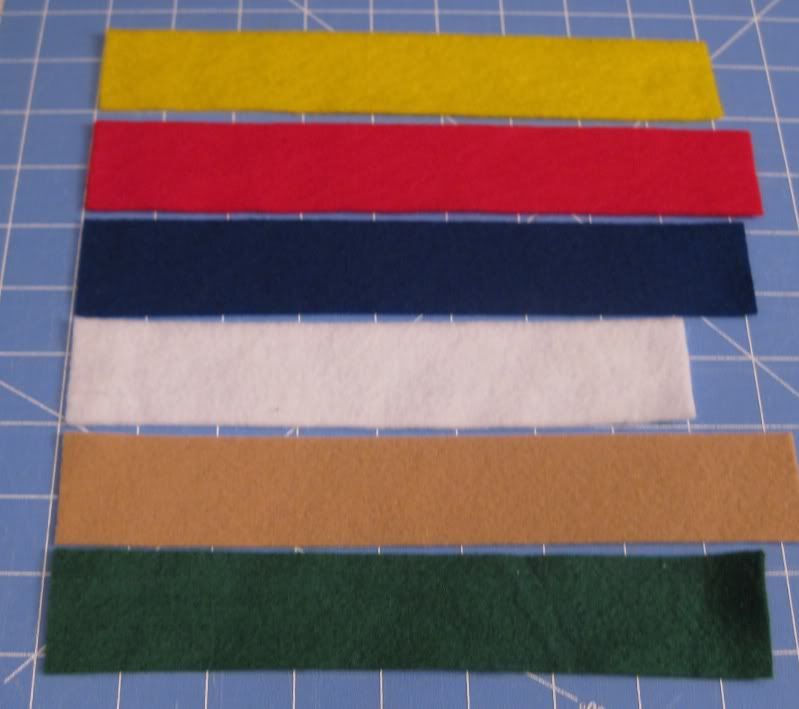
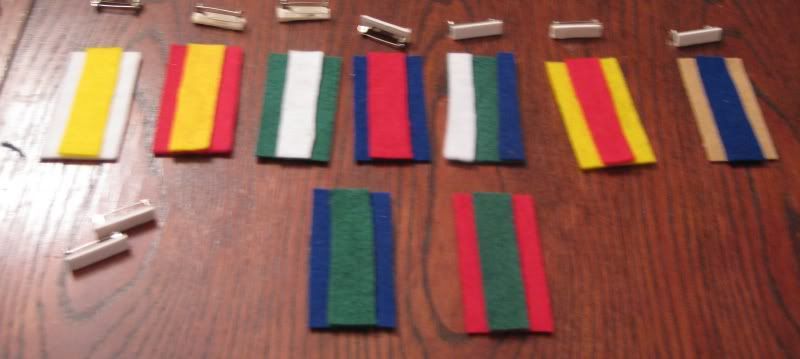
Cut, cut, cut with more colors.

Next I used what I had and made a bunch of the ribbon portions.

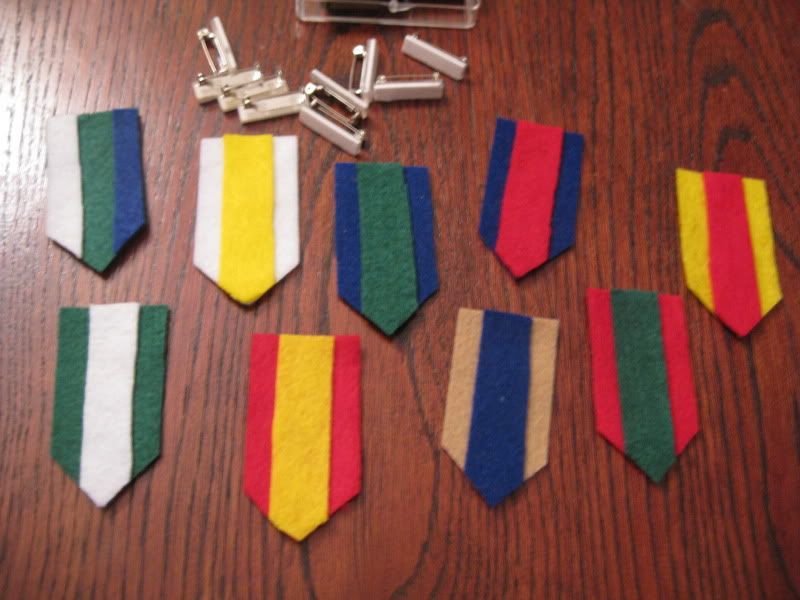
Now we need to give them a point. Again I used my quilter's ruler/guide to help me out. So easy with a rotary cutter.

Do that for the rest of the ribbons.

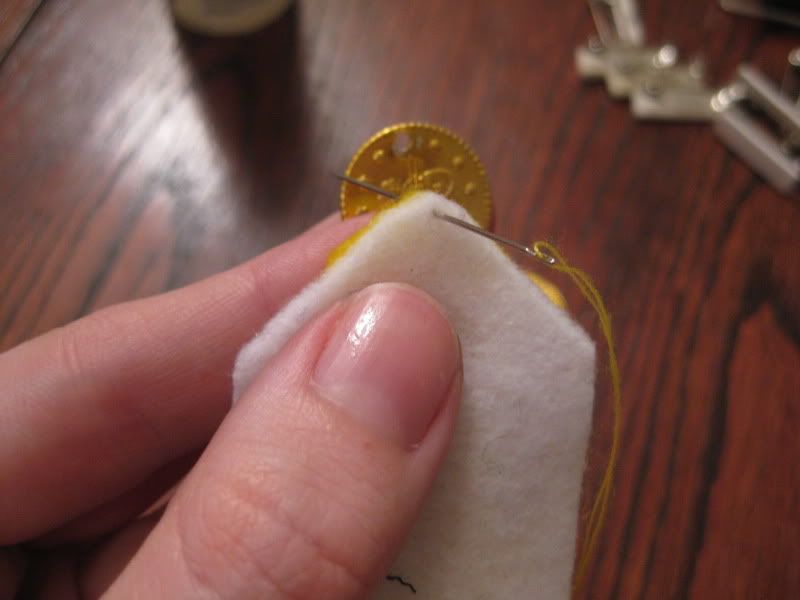
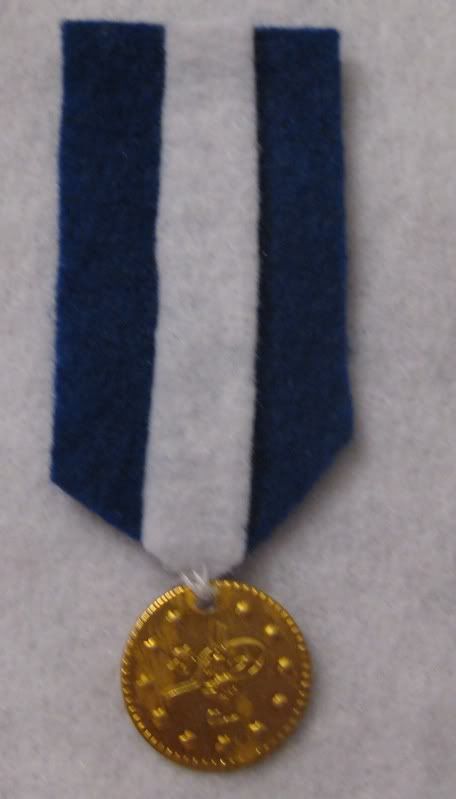
Next time to add the coins. Just using simple needle and thread, I tacked right at the bottom of the ribbon part.

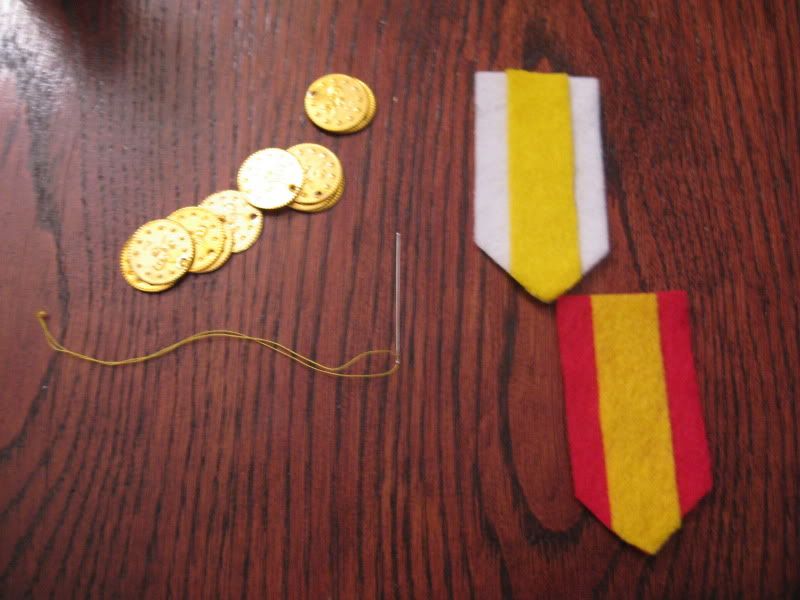
Take your needle from the backside while holding the coin

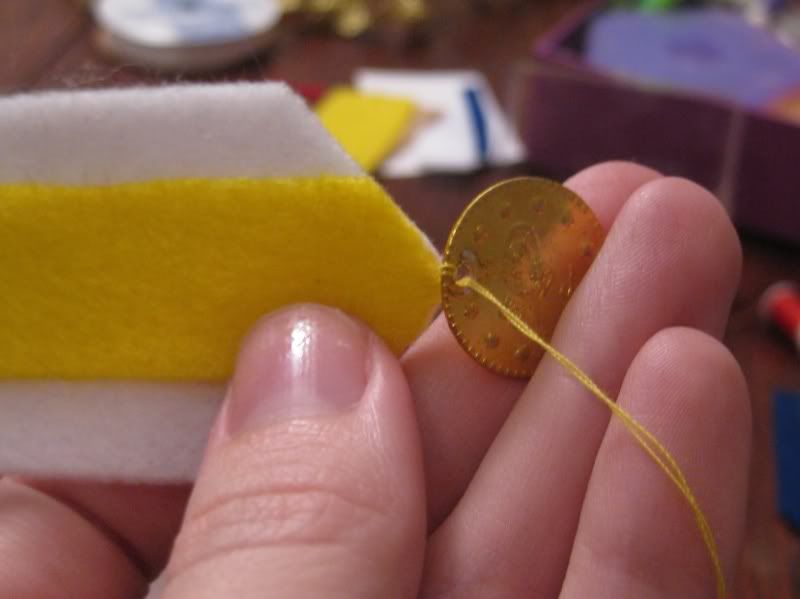
Add your coin and make sure it faces front. Put the needle down through the front of the ribbon, just a little up from where you want the coin to hang.

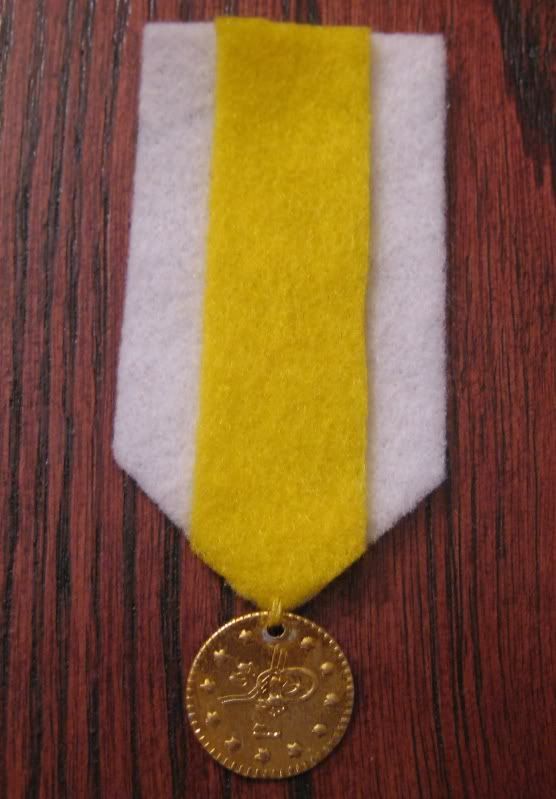
Repeat a few more timse to secure the coin and tie off in the back. Here is what one looked like!

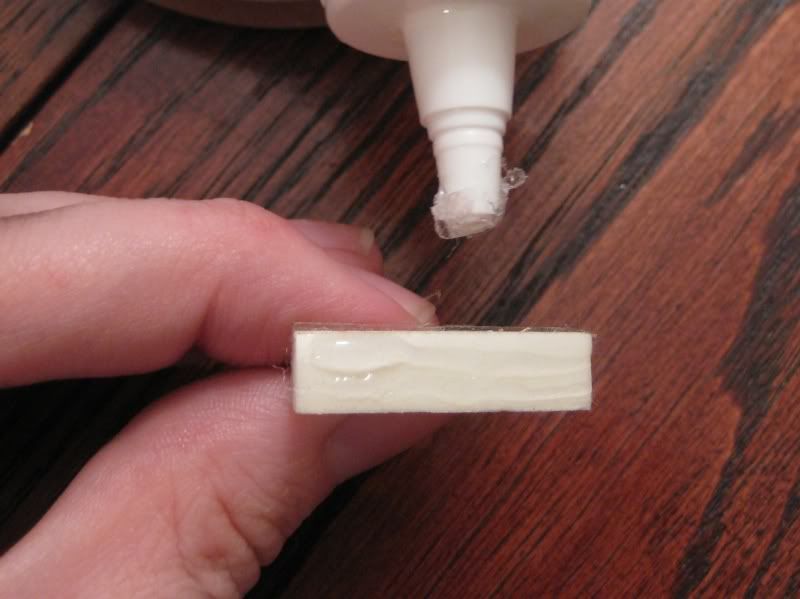
Now we are ready to add pin backs to our medals! I used the sticky back pins but added glue b/c I don't trust that adhesive!

Place on the top of the ribbon. Here are all my pins waiting while the glue dries!

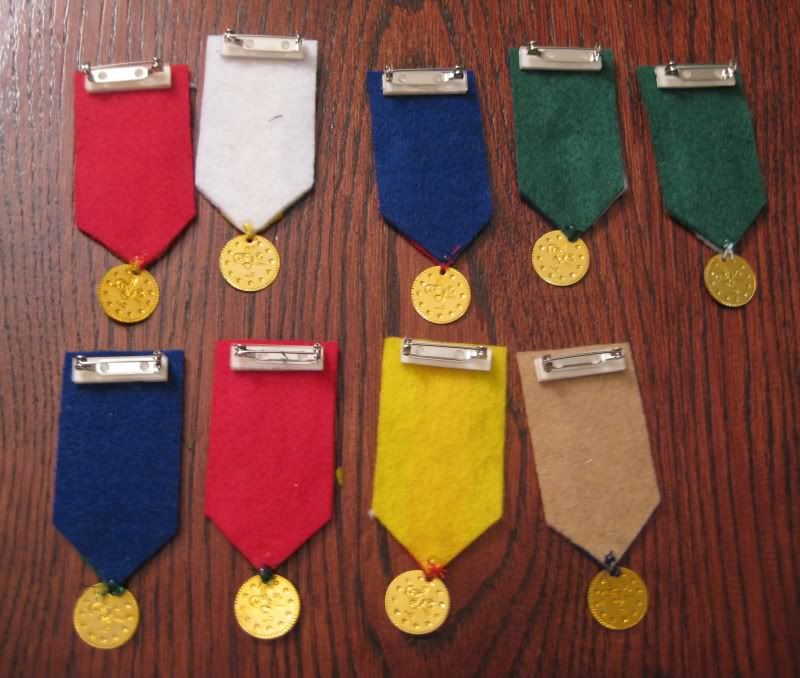
Done! Here are my end pins together!


Ok I don't have a final picture of the costume yet since we are not showing the costume yet (plus it isn't done) but stay tuned!! It will be posted soon! :)

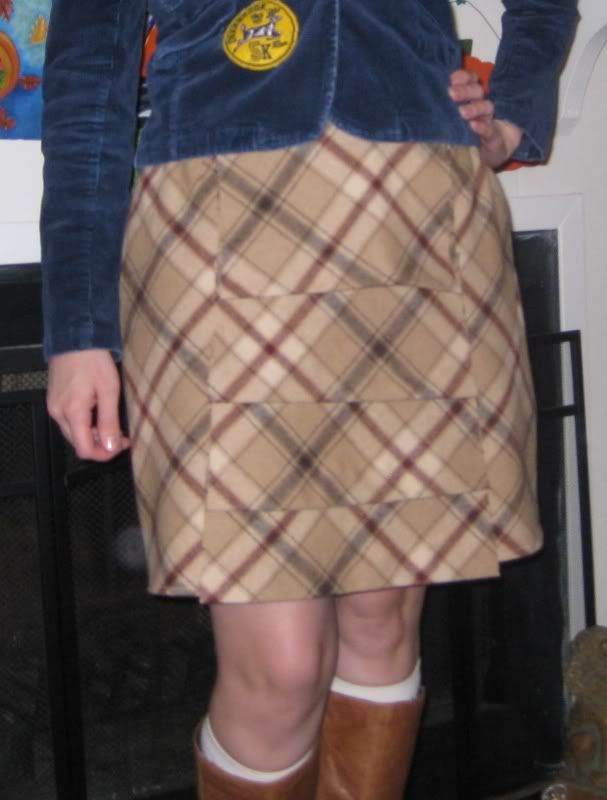
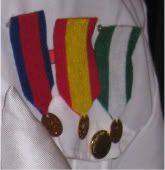
But here are 3 of them on a jacket to see how they would look!

I probably spent a total of $1. Not bad huh? Perfect for your military hero, veteran, captain, or medaled person's costume for halloween! :)

I can't wait for halloween to be done and over with! So busy with costumes, I need to get my refashions sewn and posted too! After this weekend, things will be back to normal. I can't wait!

XOXOXOXO,
Lauren

Thursday, October 20, 2011

Cross Stitch Fail- Iron craft #42

This week the iron craft challenge was invisible friend. In an effort to destash my craft stash I opted for again another christmas cross stitch. It was a whizzer- another easy cross stitch from Janlynn. The same type like I did with my elf cross stitch.

So I chose a snowman one and began to cross stitch away. Towards the middle of my project i realized the canvas they gave me was too small for the actual design.


Even if I turned it the other way, too small. It was a square. I would be short almost 15-20 stitches!! WTF!!

So I tried another one.... Another snowman... Same story not enough room. Even If I started at the very bottom or side of the canvas I would be short about 5 stithces. Absolutely ridiculous.


EPIC FAIL!!

Even the 3rd whizzer from Janlynn I measured it out. Too small. So Janlynn's quality control department was not up to par that particular session. I have been sewing and doing cross-stitch and needle point since I was 7. I have never had a problem with any kit before until these. I have decided it is not in my best interest to go out and buy more canvas. So these project have ceased.

Well it is one way in order to reduce my craft stash right?? LOL So 3 more off my list! I am still disappointed!

So this week's iron craft is an epic fail! Here's to next week's challenge and completing it!

XOXOXOXO,
Lauren

Wool skirt makeover

Found this Eddie Bauer skirt for $0.99 but it was a tad too long for my taste (it kind of looked like a tent) and a tad too big. I decided I wanted to cut it off and do something with it. Perfect for this cool weather we are experiencing!

First I cut off the length. Don't know if you can see my markings too.

I then used the bottom portion to make tiers. I cut off the seams on both sides and started to cut it in various sizes. I began to lay them out on the skirt one piece at a time (which I hemmed the bottom before doing- sorry meant to mention that!)

Next I wanted to make them taper going to the waist so I pulled out my big rotary cutting edge.

And slowly I began to make my marks with my purple fabric marker.

I then cut off the excess and I was ready to sew!

I did one layer at a time sewing starting at the bottom.

Done! I was very happy with the outcome. I opted to not take it in b/c it was not much and also it would have been very difficult with the lining underneath. I actually like wearing skirts on my hips so I just left it. too bad the zipper was not sewn in properly (same on you Eddie Bauer, I know the person who bought this skirt probably paid a lot more money than I did!)


After wearing it I realized I should try to take it in some. I also realized that jacket makes me look a little poofy in the mid-section. I'm really not poofy. Maybe I should lay off wearing too many shirts underneath. It is all good, I have joined the gym here and rehab-ing my knee since my insurance refuses to pay for more physical therapy!

And I thought I was totally being innovative but someone already beat to a similar refashion! Check out sewing dork where she did the similar thing. We went about things a little bit different but came with similar end results! how cool is that!

xoxoxox,
Lauren

Tuesday, October 11, 2011

Spiderweb wreath- iron craft #41

Yay! This week the iron craft challenge was Boo! So halloween related! So exciting I love Halloween, and I love decorating for halloween. So I was super excited when this challenge rolled around. What I wasn't excited about this challenge was timing. Between poster presentation, talk presentations, papers, halloween costumes, and a busy schedule on top of it, I was trying my hardest to find some time to do what I wanted.

I chose something easy. A halloween wreath. Here is what I used...

First I used this yarn I just found at Michael's, it was on sale! It is called Angel hair. Love it!

What I loved about it is it had this fuzzy sort of appearance and would give me a spiderweb effect.

Next I just used a simple styrofoam wreath.

To adorn I finally get to use the black glitter spiders I got for over 50% off a year or two ago but just never used...

First I added a dot of hot glue on the back of the wreath to secure the yarn.

Then I just wrapped... and wrapped... and wrapped the yarn. I wrap a few round and then push it back to meet the rest so it is nice and flush and you don't see any exposed styrofoam.

Then when I went around and met up from the beginning, I again secured it with a dot of hot glue.

Next I added the spiders via hot glue. I'll wait to show you at the end what it looks like. but I wanted a way to hang it up. So I just used a piece of the same yarn tied it and then glued the knot to the back of the wreath, so no one would see it. :)

I clipped off the excess once the glue was dry (no need to ruin more scissors!).

Ta Da! We are done!


I totally love it and it was super easy, fast, and simple to make. Now I can get back to finishing my power point presentation for work.

Happy halloween! :)

XOXOXOXO,
Lauren

Monday, October 10, 2011

O yeah. 80's sweater to doggie sweaters!

This was one of my first items I purchased in the beginning of 2011 to refashion.


Oh yeah, completely 80s sweater. Bad art deco sort of pattern. But I thought maybe I could work with it....

I tried and and tried to come up with something cool. Nothing. Then Sonja opted to take it and turn it into something. She thought and thought and nothing. Then she decided what this sweater could be turned into..


A dog sweater! We made one for Stella. Here is her eating, she was not up for posing that night. LOL


As a dog sweater this works and it is actually cute. Much cuter than anything I could ever come up with for myself. :) Props to Sonja for seeing the cuteness of a dog sweater! There is actually another sweater in the works from this sweater. Will post once it is done! The link for the doggie sweater tutorial can be found here.

I never said I was only going to refashion for myself this year!

xoxoxoxo,
Lauren

Pink and white striped pillowcase dress

This is the truest of all pillowcase dresses b/c in fact it was made from a pillowcase. Lily (Laura's F1 progeny) has a birthday coming up and I wanted to make her something special. I found this pretty pink and white striped pillowcase at the local thrift store.


I just absolutely fell for the colors and thought she would love it. She, like myself, loves pink!

First I cut off the seam to make the top of the dress. I made markings for where the arm holes needed to be. I cut about 6.5 inches down. Lily is a 4T and for some reason I got the number 6 inches. Really I am just winging it here people! And then I went in a few inches. Now I do not remember the number (grrrr....)


I cut out the armhole on a curve (using the help of a cup/jar of some sort) to make that J shape.

Next I added bias tape to the armholes to make it easier to finish. I did not want to attempt to sew it down. Bias tape is way easier!.

For the next parts I do not have pictures, since I lost my camera. (But it is now found). I folded over the top part to make a casing. I eyeballed it. Sew down. Next I used some leftover fabric scraps of mine to make a tie, the good-old-fashioned way. I pulled it through the casing. And we shall tie it at the shoulder.


I wound up hemming the bottom of the dress and added the pink bias trim again. It would have just been a smidge too long for her. I kept it simple. I just fell for this dress! It is just too cute! :)

Happy birthday Lily!

xoxoxo,
Lauren

Cosmic Pink Princess Skirt

It has been quite busy around here! Luckily birthdays and baby showers have ceased for the moment so I can play catch up! This is a refashion that I did for Lily's birthday. It all started when Sonja gave me some of this organza-like pink/blue/yellow trim that was her grandmother's. She said here, you will probably make something out of this before I do. Then it was decided that we would make something for our other resident princess (besides myself) in the troupe, Lily.


I started out with this skirt that I obtained from a thirft store. However, it was made more for me but it would not be something I would actually wear in public. No way! I did love the applique tho... I wanted it for myself.


I pulled it off with a seam ripper. I will save it for later!

Next I turned the skirt inside out and marked where with pins her waist would be. I cut away the rest of the skirt and sewed it together.


Next I began to sew on that ruffle! It started to get fun when I had several layers on and putting it under my sewing foot!


Now I ran out before I could complete the entire skirt. So I ran a gathering stitch on that little piece and pulled it through to make a "poof" or flower sort of shape.


Then I attached it to the skirt above the ruffle. And we are done!


Lily has not actually seen it yet. I just finished it after her birthday party. I hope it fits. making gifts for children esp since they are not my own I really hard b/c I don't have measurements nor can I make them try it on!

It is totally pink and cosmic. Perfect for any princess!

xoxoxo,
Lauren

LinkWithin

Related Posts Plugin for WordPress, Blogger...