Well hi welcome to my little blog. Just my little corner of craftiness, sewing, and refashioning. I am also a newly gluten free eater so you have a little bit of recipes mixed in here.

Saturday, February 28, 2015

The bright yellow shorts-fail

I never blogged about these shorts but thought it would be a good time to do so. I had this bright yellow fabric I opted to try to make a pair of shorts. Used this bright yellow thread- hey it worked.


I used a pattern. But at the end I realized they were too tight. I added a strip of fabric at the sides and extended the waistband.

And I made them too big.

I wasn't too excited about them. And on one leg the fabric got wavy.

Meh.


They do look ok from the sides. From the sides...

I never wound up keeping this shorts. I gave them away. I was sort of scarred from the entire ordeal and I didn't want to see them again. I really want to make a nice pair of shorts this year. I seem to fail with them Sigh. Let's see what happens.

Cheers,
Lauren

Friday, February 27, 2015

Gltuen Free Friday: coconut lemon bars

This recipe again was from the Gluten Free Bible. I really like this cookbook.


The recipe was pretty easy

Crust
1 c gluten free shortbread cookies crushed
1 stick of butter- melted

Spray pan with nonstick cooking spray
Combine cookies and butter- mix well. Press into pan.

Filling
1 package of cream cheese- softened/room temp
grated peel and juice of 1 lemon
1 egg
2 tbp of sugar
1 c white chocolate chips
1 c flaked coconut
1/2 c chopped macadamia nuts

Beat cream cheese, lemon peel, juice, egg, and sugar on low speed until smooth Spread on crumbs crust.
Add white chocolate chips to next layer. Then coconut, then nuts.
Bake 30 minutes and cool. Cover and refridgerate.

These were delicious. It is important to push each layer down with a fork. We highly enjoyed this cookies over Christmas. Creamy with lemon but not lemony enough it was too tart. Will definitely do again!

Cheers,
Lauren

Saturday, February 14, 2015

Lady Skater Dress in tribal tophat knit fabric

Last year I purchased a set of patterns from pattern parcel. I am trying to support more indie designers. The first parcel had some awesome patterns! It has taken me long to actually get to sewing.


But one day while going through my knit fabric (that I got from G Street fabrics with a Groupon) I saw this tribal knit fabric and thought, BOOM, made the lady skater dress! I call this the top hat as the longer I stared at the fabric there looked like there was a man with a top hat on....

So I picked pattern #1, the lady skater by Kitschy Coo. The fabric was thin so I had to double up on thickness, both top and bottom. I opted for 3/4 length sleeves.


This pattern was easy to cut and easy to sew. The pictures in the tutorial was a bit hard to follow and I thought it could be better drawn out for clarity. If you are a beginner sewer you might get confused. The only thing I did not do was add the clear elastic- I did not have any on hand. I did add tricot ribbon at the shoulders to assist with the drooping from the weight. I did not add length but it is made for 5'5" and I am 5'8". I actually like where it falls, I think it compliments my height well. Too long of skirts on me, don't work with my dimensions. Here is one photo of me cutting the skirt. Everything again is doubled because the fabric is thin. The only thing that is not double are the sleeves.

Here is my new dress! It fits like a glove and I got exactly what the picture showed.


OMG I want to make more of these!!! I am already searching for other knits in my stash. I might make the cap sleeve version next. I highly recommend this pattern! This will be my MGAM for February. Wahoo!!! I love sewing easy dresses. This dress is super easy to sew.

Cheers,
Lauren

Friday, February 13, 2015

Gluten Free Friday: White Chocolate Pudding with Toffee

Alright, so I have been a bit late in a lot of these gluten free posts. But better late than never. I got ambitious over thanksgiving and I wanted to make my own home made pudding I found this recipe in the


The recipe is as follows:
Pudding:
1/4 cup sugar
1/4 cup cornstarch
1/4 tsp salt
2 cups milk (I used 2%)
3/4 whipping cream
7 squares white chocolate- chopped
2 tsp vanilla

I combined the sugar, cornstarch, salt in a pan and mixed well. I then slowly whisked in the milk and cream and brought it to a boil and then reduced to medium heat. I did not walk away because very quickly it can get lumpy. Once you get lumpy it is over. I removed from heat and added chocolate and vanilla until everything melted. Transfer into dishes, cover, and refrigerate.


Toffee
1/2 c sugar
1/4 karo syrup
1 c sliced almonds
2 tsp butter
1/2 tsp baking soda
1/2 tsp vanilla

Microwave 4 minutes mixed sugar and corn syrup add almonds and butter Microwave again for 2 minutes. Add baking soda and vanilla and then spread on foil that is coated with nonstick cooking spray. Let cool and then break up into smaller pieces. Add to pudding

Everything was super yummy. Just have to watch the pudding I got a few lumps. It was difficult to not walk away

Cheers,
Lauren

Tuesday, February 10, 2015

Last refashion of 2014!! #99- Lace tablecloth

I found this wonderful lace tablecloth. For some reason I didn't realize that it was circular. Don't ask b/c I seriously don't know. I thought I could make a cute pair of shorts from them but the size put me at a bit of a disadvantage with wanting to stay on the grain
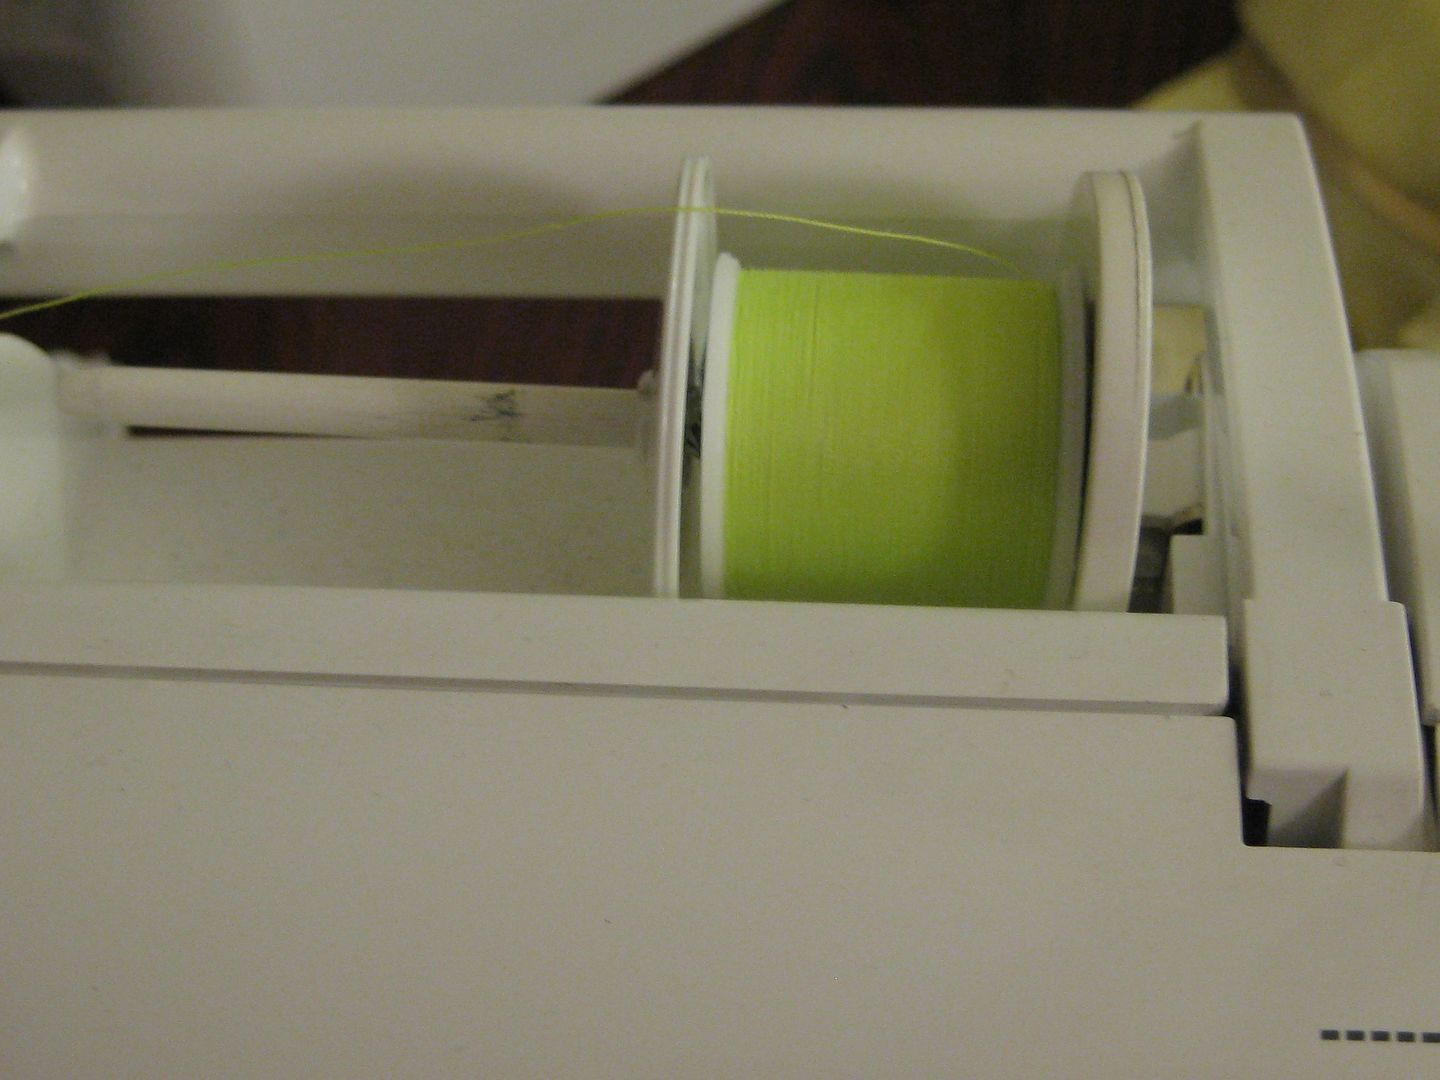
Problem was if I was going to use it for anything then the color was not going to work for me. I did not care for the tan. So I dyed it using 2 different RIT dyes. Since the lace is a lot of thread, that I don't know how it is going to react, I went with 2 dark dyes- dark green and denim blue. Thanks Mom for the dye you got on clearance.


The end result was awesome! It was a grey mixed with some blue green. There was no tan left. I cut off the ruffle around the edge. My initial plan was to make a lace circle top. But then I cut the circle too deep.

It was no longer going to work as a top. I sighed and it fell down, landing on my hips. Then I realized this fit perfectly as a skirt! Win!!! I needed to line it, which I found this brown fabric in my stash. And as serendipity would have it... it was the perfect size needed with my existing skirt!  Double Win!!!


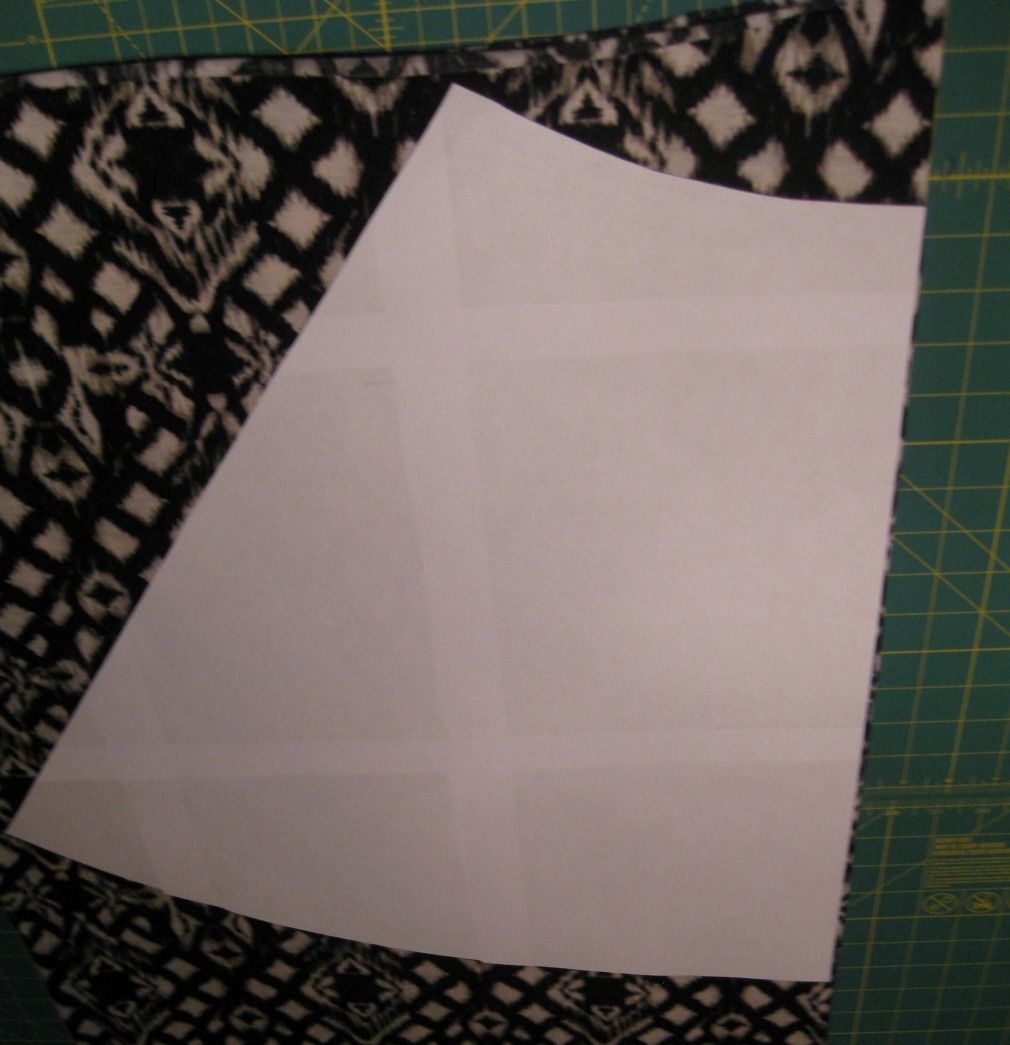
So I cut out the brown circle and cut a line down one side. This will allow me to put in a zipper. Now I need to make a waistband. I used this new sewing notion I found by chance when I was looking for something else online. It is fusible interfacing that has cut line that allow for easy folding. Time to try it out!!
So Triple Win! This made making waistbands SOOOOOO easy. I attached it to my skirt, which I had to lightly gather to adjust it to fit. Boom done! Prior to this I added an invisible zipper.


Finally, hemming. I took apart the lining from the lace and resewed them individually. This was solely because I wanted to individually hem each layer. The lace layer, I folded twice and ironed. Then sew It was really smooth. I used my serger for the brown layer.  Done!

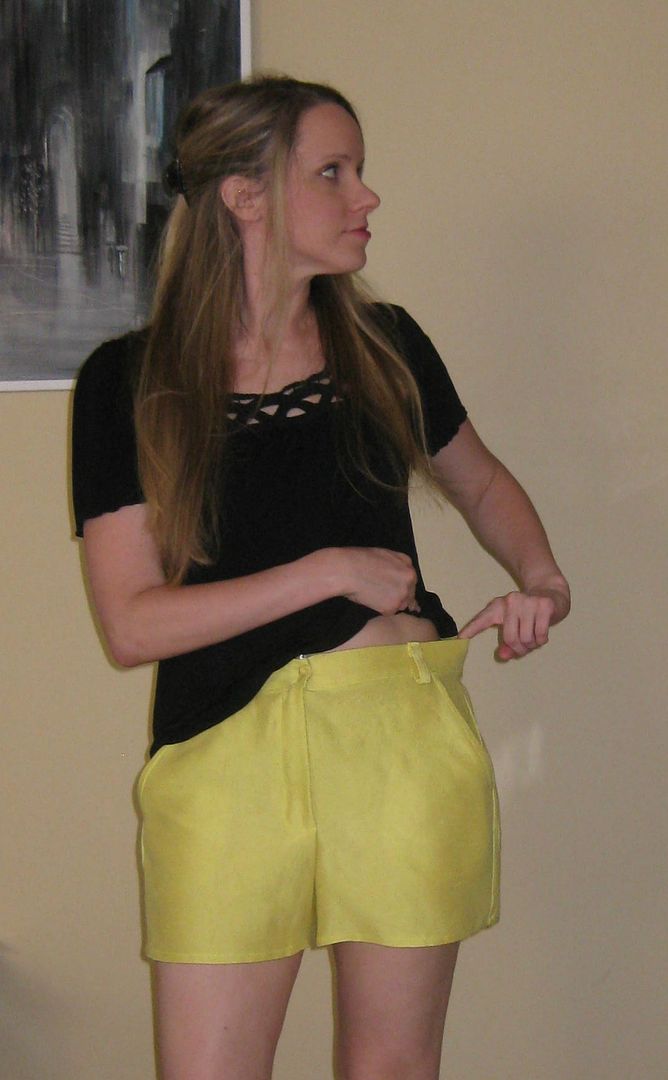
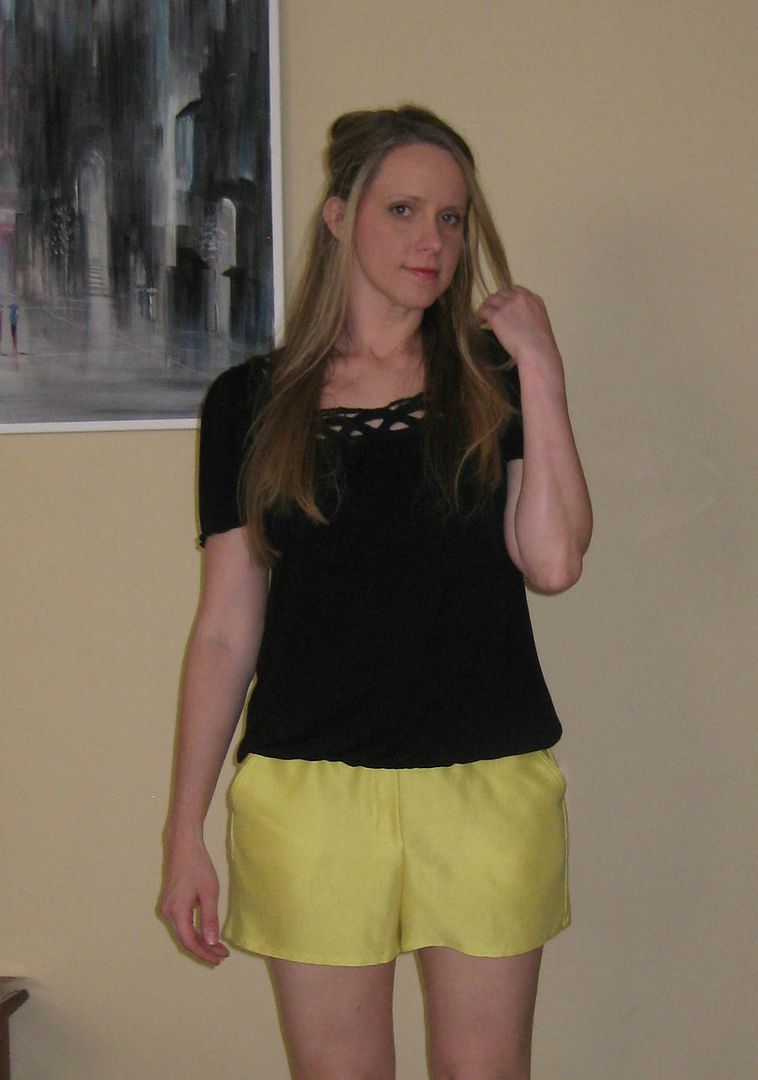
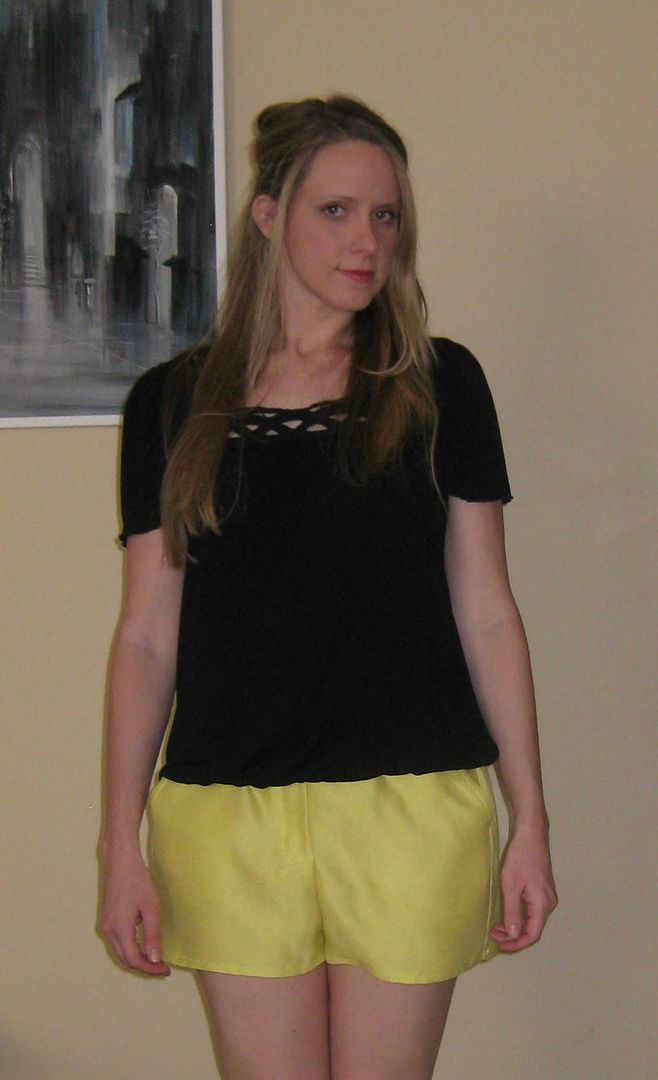
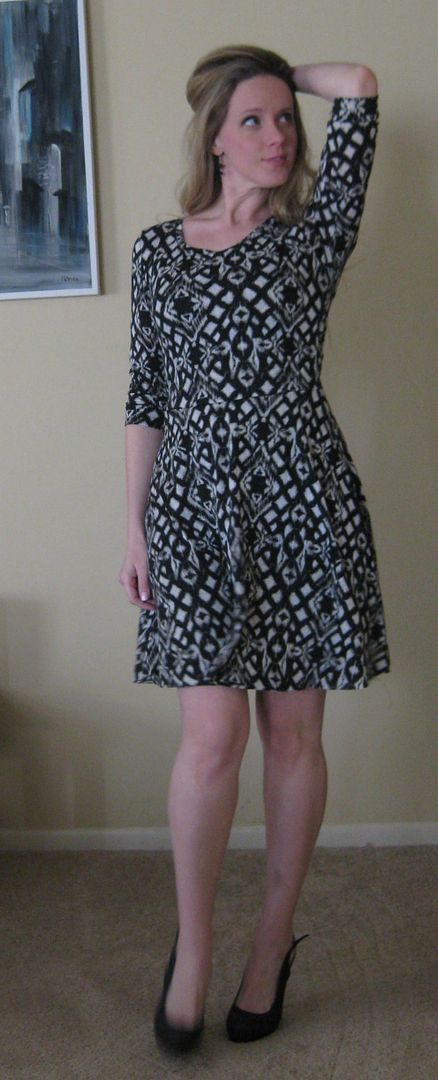
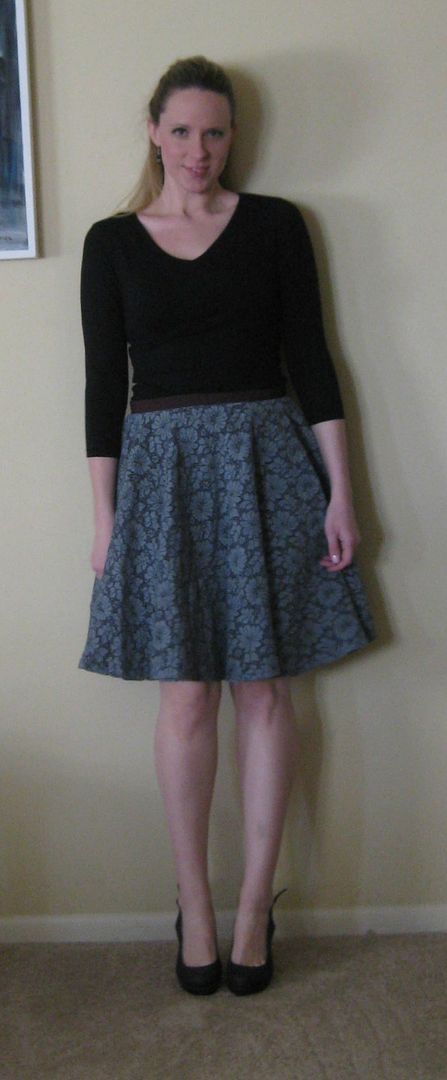
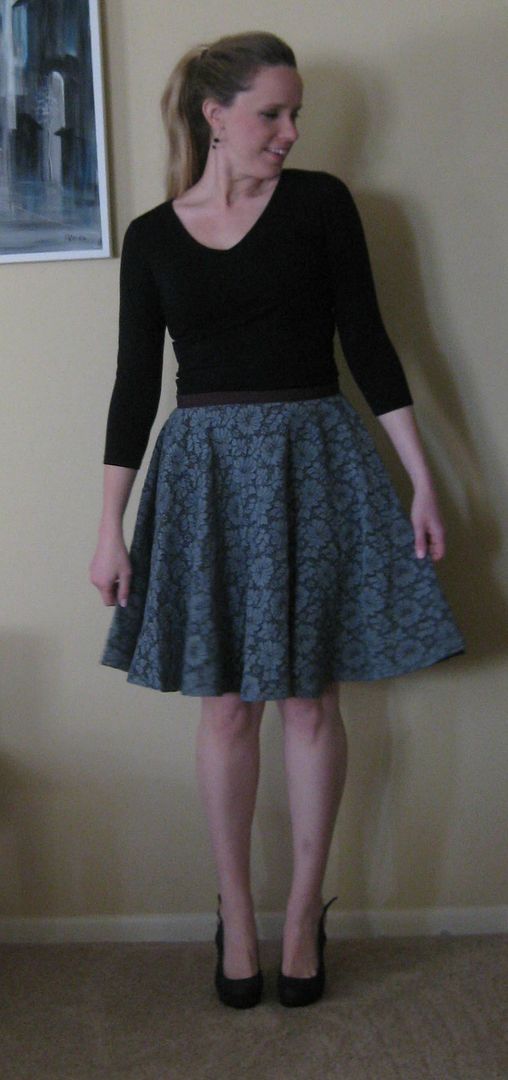
Here is my new skirt. OMG! It was completely destined to be a skirt. How fabulous is this!

It also had a bit of a retro feel to it. It was a full circle skirt, no doubt!!


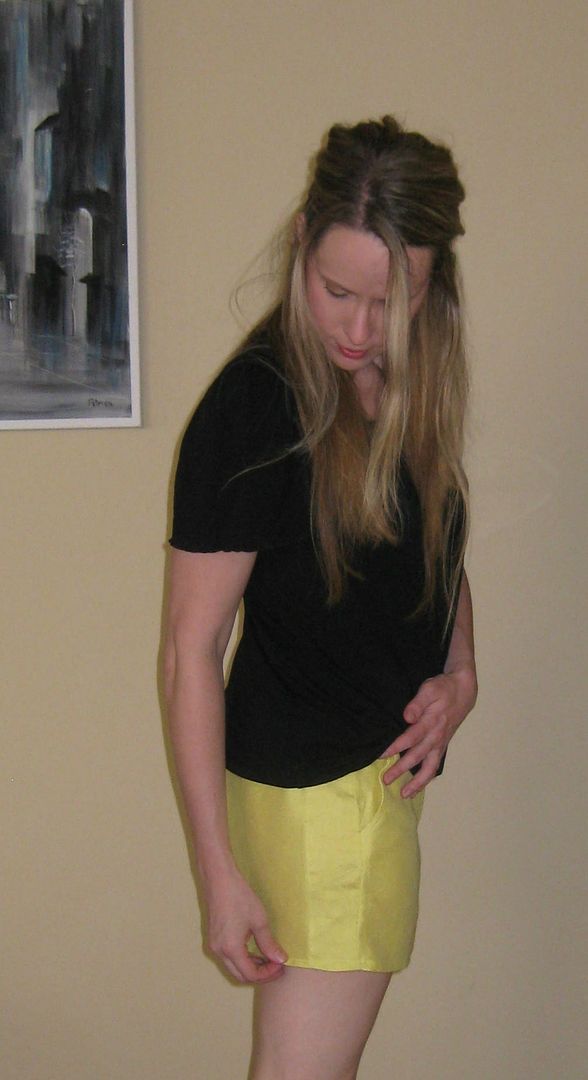
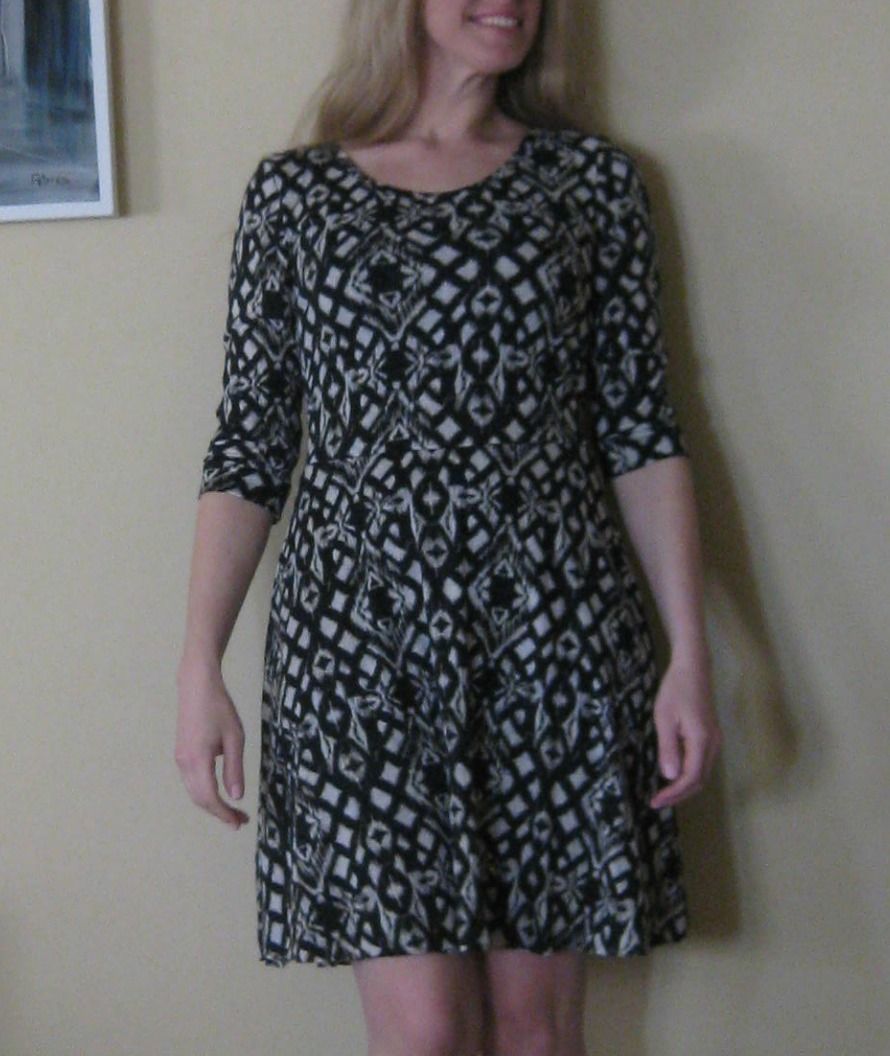
Even though the hem was a bit of a challenge it looks great!


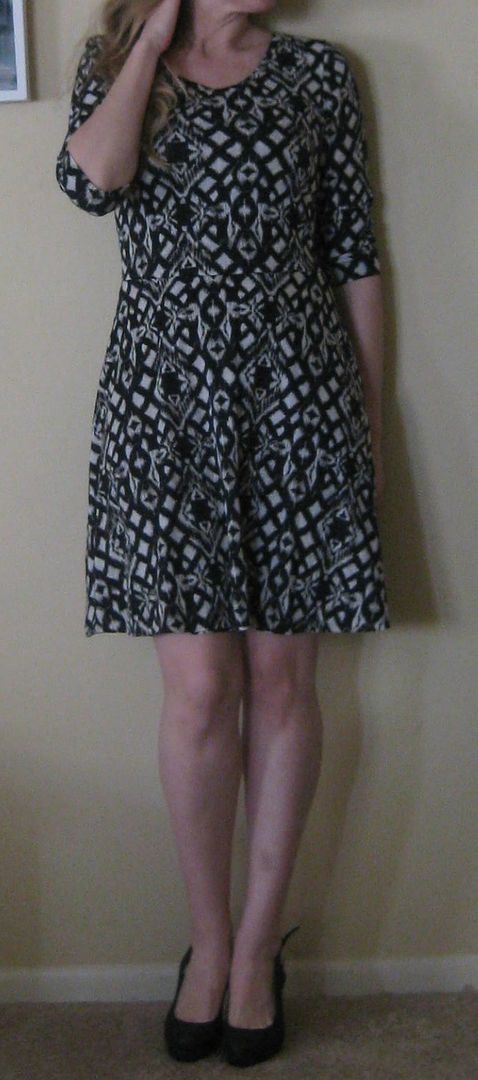
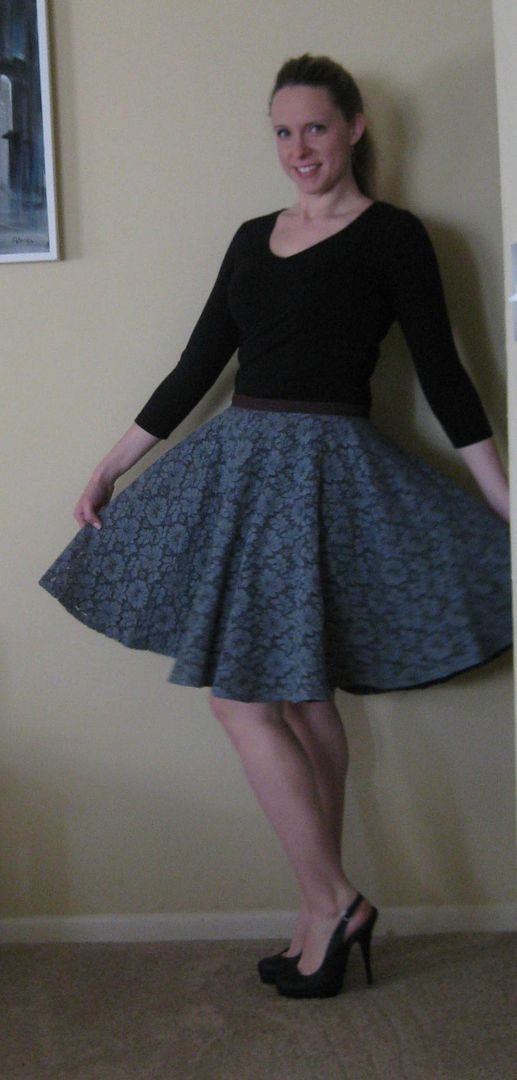
And with all circle skirts, you have to twirl with it! It is just sort of mandatory!

Here's the recap. Before a tablecloth, after an awesome circle skirt! Yay!

So this my readers finishes my 99 refashion challenge for 2014. Wow. It was really hard as my life got in the way of my life. I also realized putting numbers on things can at times make things harder. And stop some of the creativity. All of the refashions will go stored here on this list. It was a fun challenge and I came out with some fabulous clothing.
Yes there are more refashions and sewing on the way! :) No worries, I don't know what I would do with myself if I didn't refashion something. :)

Cheers,
Lauren


Tuesday, February 3, 2015

Giving a strapless dress some modesty, refashion 98

I thought this dress would work as is, yeah I know one of those. It fit but I felt as if the bodice was a smidge too small. I felt as if I was a bit exposed. Just not enough bodice. I wanted a way to fix this some way.


I decided I was going to try and not necessarily add straps but try and create some sort of addition to the top. I used some leftover red fabric. I cut 2 rectangles and across the top I sewed a gathering stitch. I then attached the fabric strips to the dress. I did this by trying on the dress, placing the line on my shoulders and pinning where I needed to attach. I started with the fronts first then did the backs. I hand stitched the fabric to the dress. It really did not take that long.
I also removed the buttons on the front of the dress.

Here is the end product! Definitely modestified the dress. I sort of have gathered sleeves. Something completely different!


 The back..
Here's the recap. I feel much better wearing this dress!
1 more refashion left from last year! I know and it February- so sad!! Stay tuned for next week for another refashion! My last one and it is a good one!! :)

Cheers,
Lauren


LinkWithin

Related Posts Plugin for WordPress, Blogger...